Raised Bed Vegetable Garden
In the heart of every hopeful gardener lies a dream – a vision of verdant abundance springing forth from their own backyard. Today, let’s embark on a journey to transform a mundane lawn into a thriving Raised Bed Vegetable Garden,adorned with raised beds. Envision the metamorphosis: from a blank canvas of green to a mosaic of fertile beds, teeming with the promise of harvest.
Our first step is a dance of planning and imagination. Survey your space, the future sanctuary of your Raised Bed Vegetable Garden. With stakes and markers, outline your garden’s blueprint, a sketch of potential and growth. Raised beds typically come in 4-foot increments, a measure to keep in mind as you design your garden’s layout.
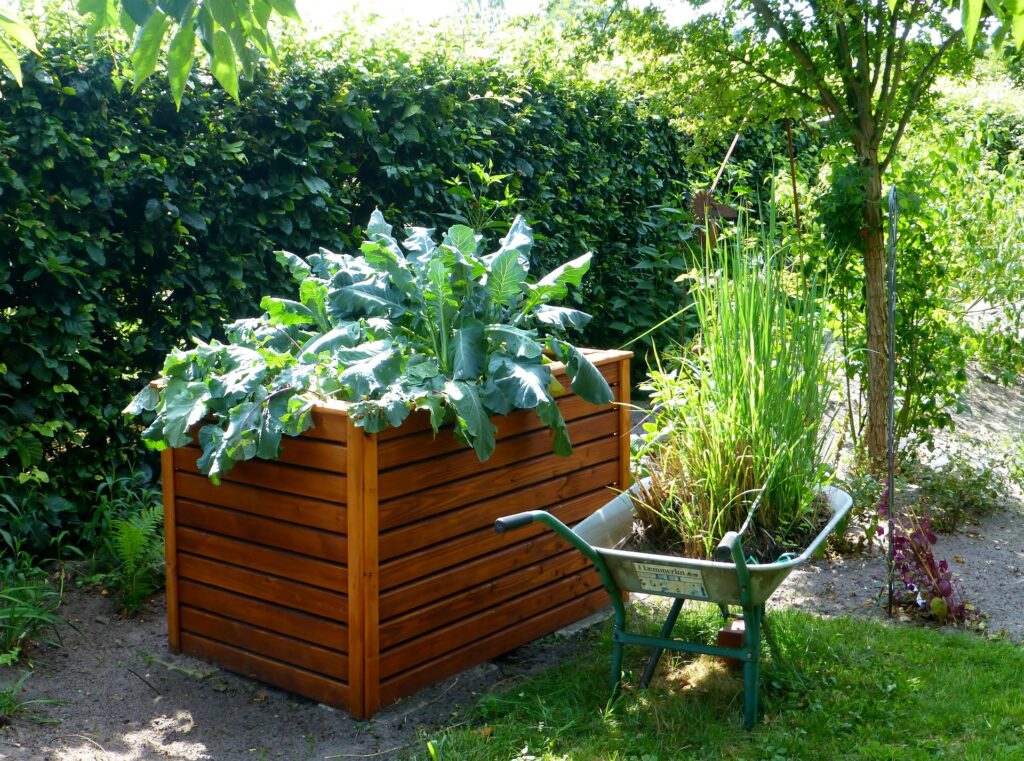
Enter Greenes Fence, the craftsman behind our chosen Raised Bed Vegetable Garden. Their kits, simple to assemble, range from 4×4 to 4×8 feet, each standing about 10.5 inches tall. Within these cedar boundaries, your garden will flourish, protected from moisture and the elements. The assembly is a swift, almost meditative process, as each piece finds its place, a testament to thoughtful design.
In this garden of ours, each side of the raised bed holds three bars, brought together by posts, creating a solid frame. Assemble them with a gentle tap, a chorus of small triumphs in every click. This is where your garden starts to take shape, a tangible reflection of your vision.
You might consider adding tops to your beds, a flourish that’s optional yet functional. As you continue, the physical form of your garden emerges, a testament to your effort and anticipation. Employ a garden cart, a faithful companion in your gardening saga, easing the transportation of your raised beds. This tool, with its narrow profile, glides through your garden, a silent ally in your horticultural endeavors.
The next chapter involves safeguarding your future harvest. Lay down hardware cloth beneath the beds to deter burrowing pests. Choose a robust material – 19-gauge, half-inch mesh is ideal. Cutting and fitting this protective layer may seem laborious, but it’s a crucial shield for your garden’s bounty.
On top of this protective mesh, lay cardboard, an organic barrier against weeds and grass. This humble material, destined to become compost, is a guardian for your garden, blocking sunlight from unwanted growth below. Your plants, in time, will reach through this decomposable layer, their roots delving deep into the earth.
Now, the heart of your garden – the soil. After much research, the choice is clear: Kellogg’s Raised Bed and Potting Mix. This blend, rich in organic materials like coconut coir, chicken manure, and worm castings, offers a fertile foundation for your plants. It’s a cost-effective, high-quality solution, especially when bought in bulk. For a 4×4 bed, you’ll need about 12 cubic feet of this mix, enough to fill the bed and leave room for settling after watering.
As a final touch before planting, mix in an organic fertilizer, like Jobes Organics All-Purpose Fertilizer. This step ensures a slow release of nutrients, fostering a rich soil environment where your plants can thrive.
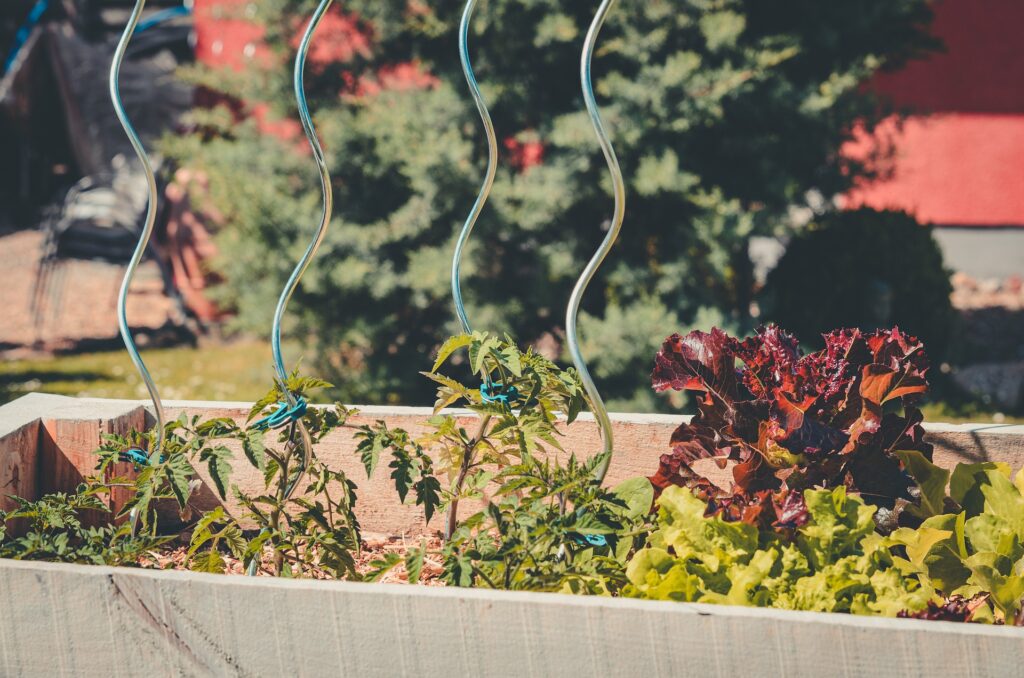
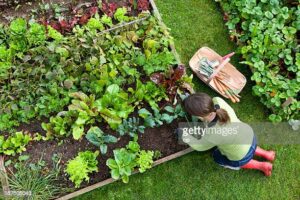
And there, the stage is set. Your raised beds, arrayed in their designated spots, are ready to nurture the seeds of your future harvest. Tomatoes, runner beans, and more will soon sprout, climbing trellises and basking in the sun. Water your beds, let the soil settle, and watch as your garden, born from vision and effort, begins its cycle of growth and renewal.
In this journey, you’ve not just built a garden. You’ve created a living tapestry of food and beauty, a testament to the harmony between human aspiration and nature’s bounty.
