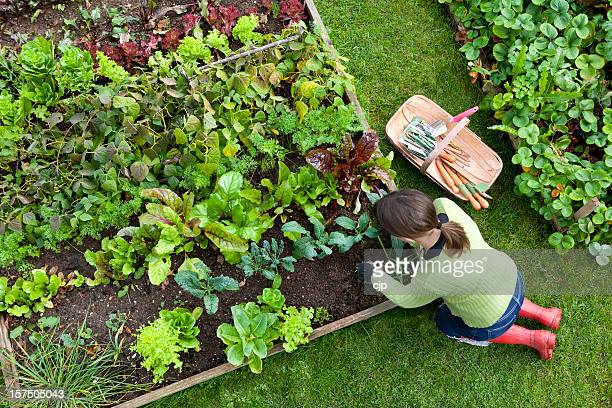
Birds eye view of a woman gardener weeding an organic vegetable garden with a hand fork, while kneeling on green grass and wearing red wellington boots.
Transforming Your Yard into a Breathtaking Garden Oasis: A Step-by-Step Guide
If you’re yearning for a picturesque garden adorned with beautiful raised beds, then you’ve come to the right place. In this comprehensive guide, we will walk you through the best ways to transform your current yard into a stunning outdoor sanctuary. By following the expert tips provided in the accompanying video, you’ll be well on your way to creating an awe-inspiring garden that will leave your neighbors envious.
Step 1: Survey and Define Your Space
To begin your garden transformation, it’s essential to carefully examine the area where you plan to install your raised beds. Take the time to assess the layout and size of your yard and decide where the beds will be placed. You can use any writing instrument to mark the desired location, or even posts or stakes to visualize the layout.
Step 2: Choose the Right Raised Beds
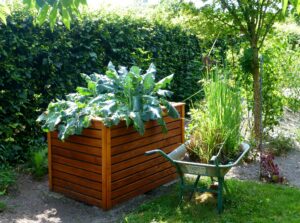
When selecting your raised beds, consider using Greenes Fence, a reputable company that offers convenient assembly kits in various sizes. The most common dimensions are 4×4 and 4×8, with a height of approximately 10.5 inches. Depending on your available space, mark your areas accordingly.
Step 3: Assembly Made Easy
Greenes Fence provides all the necessary components in a neatly packaged kit. With just a few minutes of your time, you’ll have your raised bed ready for planting. The kit includes side bars, posts, tops, and other pieces that easily fit together. Simply follow the instructions and assemble your bed effortlessly.
Step 4: Repeat and Expand
If you need more than one raised bed, repeat the assembly process for each additional unit. By purchasing an extra 4×4 set, you can easily expand your garden and add four more feet of growing space. Ensure proper spacing between the beds to optimize plant growth.
Step 5: Level the Ground
To ensure a level surface, you might need to add some soil in certain areas. Simply fill in any uneven spots and ensure a smooth and balanced surface for your raised beds. This step is crucial for the overall aesthetics and functionality of your garden.
Step 6: Protect Your Garden from Digging Animals
To safeguard your plants from digging animals like moles, rats, or voles, you’ll need to install a 4×25 feet, 19-gauge, 1/2-inch hardware cloth. This will prevent these pests from burrowing into your garden and devouring your precious vegetables. Although it may seem laborious, taking the time to complete this step will provide peace of mind and protect your hard work.
Step 7: Lay Cardboard for Weed Control
Place cardboard on top of the hardware cloth to prevent any grass or weeds from growing in your raised beds. The cardboard acts as a barrier, blocking light and causing the grass underneath to die. Over time, the cardboard will decompose and turn into compost, enriching the soil. Cut the cardboard to fit the dimensions of your beds and secure it in place with staples or by layering multiple pieces.
Step 8: Fill the Beds with Quality Potting Mix
For optimal plant growth, fill your raised beds with high-quality potting mix. Kellogg’s Raised Bed and Potting Mix is an excellent option as it contains a blend of top-quality ingredients, including recycled forest products, coconut coir, perlite, and organic nutrients like chicken manure, feather meal, and worm castings. This mix ensures a fertile environment for your plants while minimizing weed growth.
Step 9: Incorporate Organic Fertilizer
To provide your plants with essential nutrients, use an all-purpose organic fertilizer like Jobes Organics All Purpose Fertilizer. This 4-4-4 blend is made from premium organic materials. Click to review.
